To host a dedicated server for Project Zomboid Build 42, install SteamCMD, download the server files, configure settings for memory allocation and server access, and run the server batch file.
Download and Set Up SteamCMD
steps
- Open a browser and search for "SteamCMD download."
- Download SteamCMD from the developer community website.
- Navigate to your C drive and create a new folder named "SteamCMD."
- Move the downloaded SteamCMD files into the newly created folder and extract them.
- Double-click
SteamCMD.exeto initialize it, which will generate the necessary files.
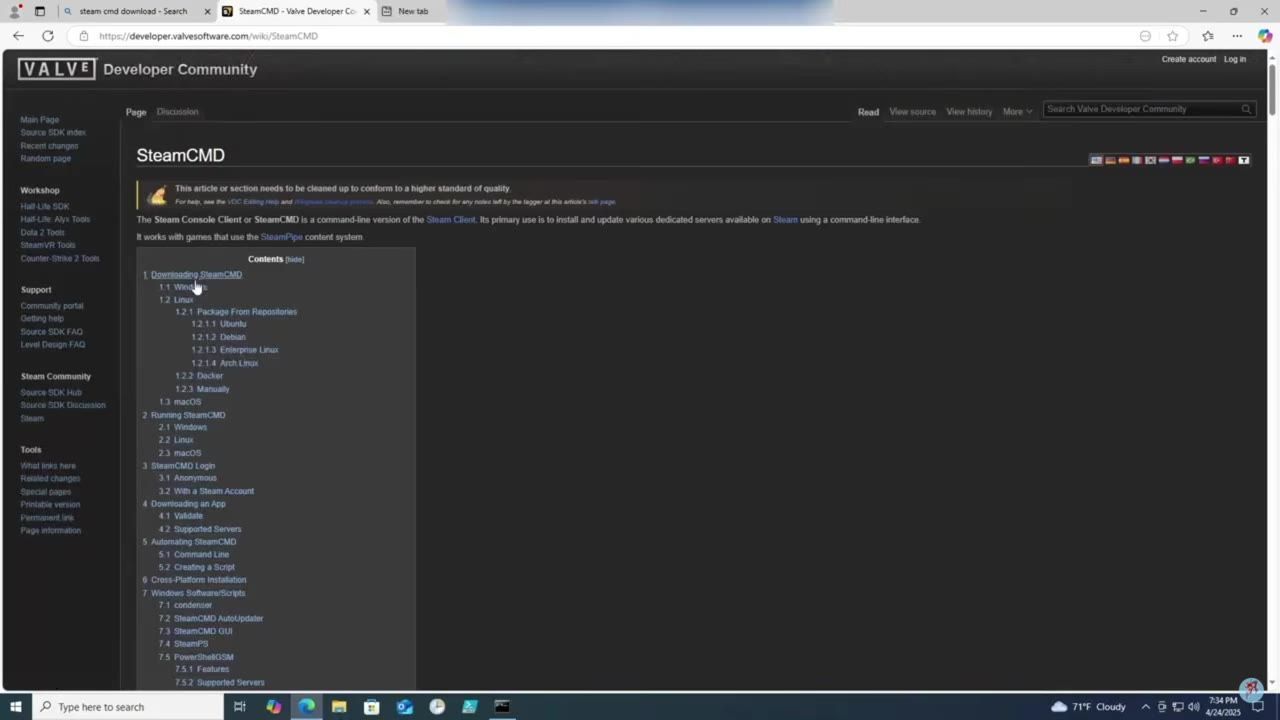
The SteamCMD website page shows download instructions including options for multiple operating systems. — Rockuzza Gaming
Download Project Zomboid Server Files
steps
- Launch
SteamCMD.exefrom the folder it is installed in. - Log in anonymously: Use the command
login anonymous. - Set the installation directory: Run the command
force_install_dir C:\PZServer-Stable42. - Update the server files to the latest stable version: Execute
app_update 380870 validate. - Wait for the download to complete, then exit the SteamCMD application using the
exitcommand.
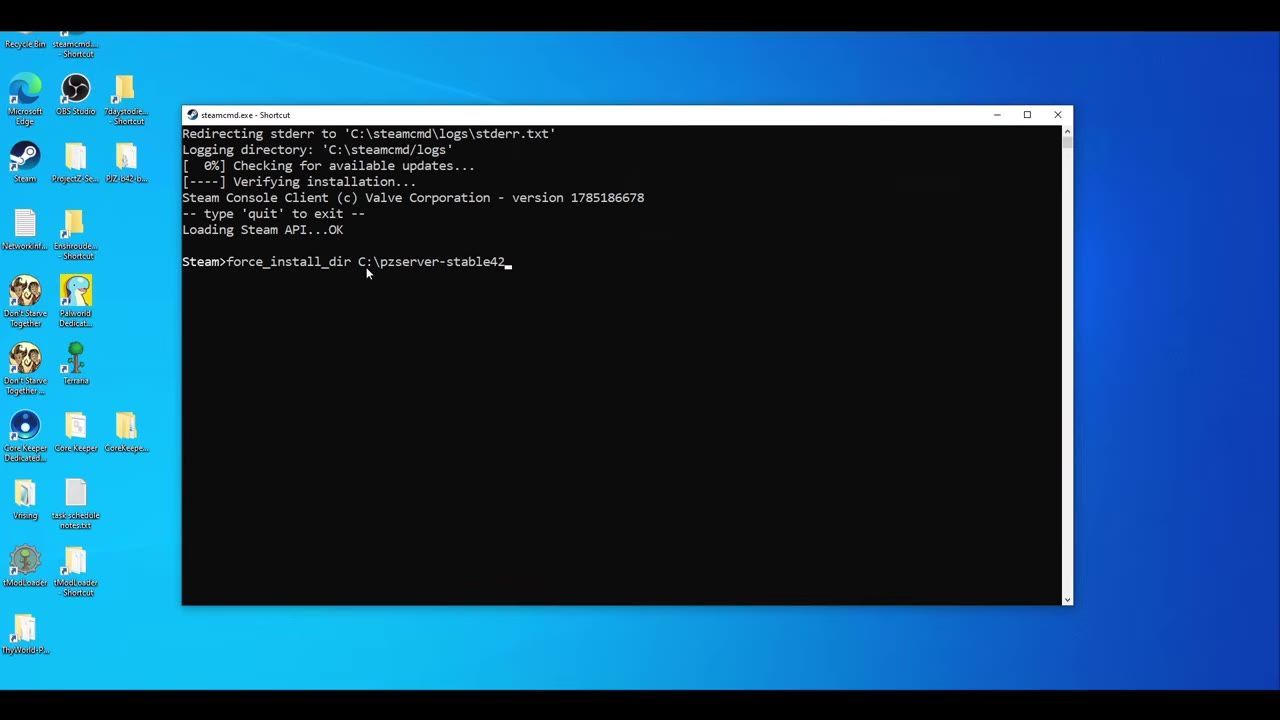
The SteamCMD interface displays the command for setting the installation directory for server files. — Rockuzza Gaming
Configure Server Batch File
steps
- Navigate to the
PZServer-Stable42folder you created earlier. - Locate the
start-server64.batfile and right-click to edit it in a text editor such as Notepad. - Review the memory allocation line to ensure it aligns appropriately with your system's specifications and available RAM.
- Save changes after editing and close the editor.
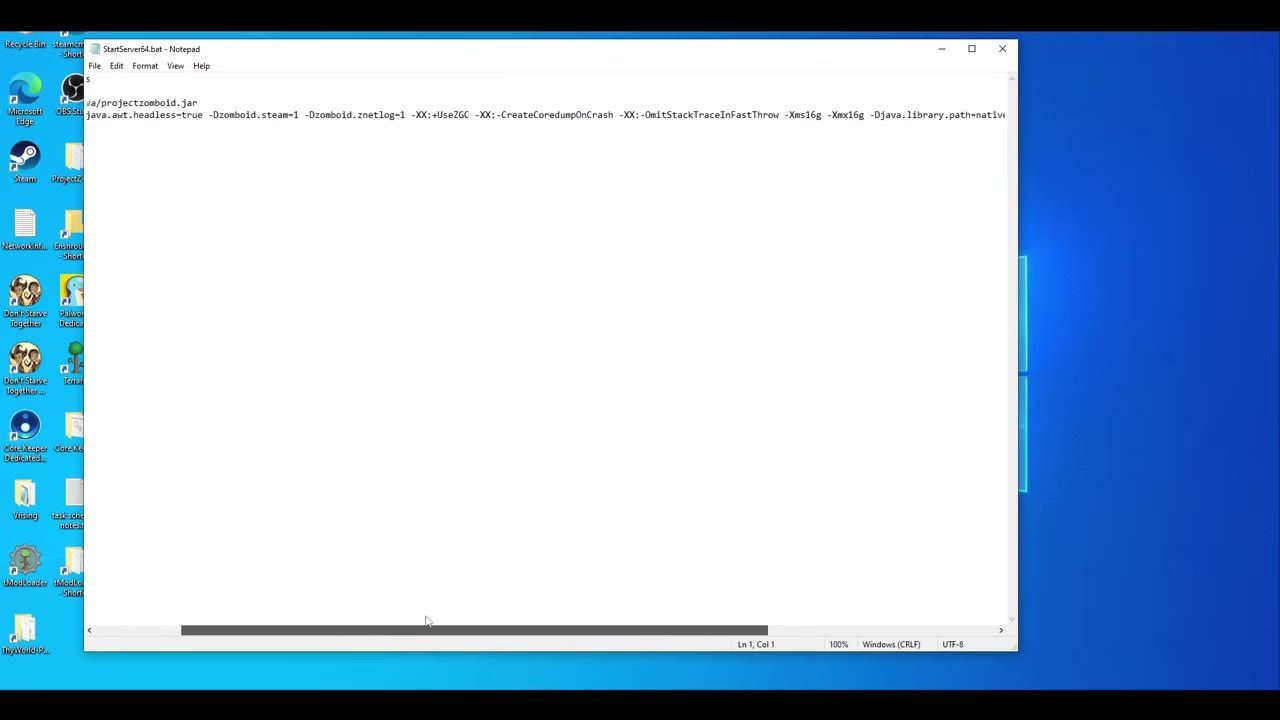
Editing the server batch file in Notepad on a Windows desktop. — Rockuzza Gaming
Set Up Server Configuration
steps
- Navigate to your
C:\Users\<Your Username>\Zomboid\Serverfolder. - Locate the
servertest.inifile and create a backup for safe keeping. - Open the
servertest.inifile in a text editor like Notepad. - Modify key settings:
- Change
Publictotrueto make the server publicly accessible. - Set
PublicNameto define the server name. - Change
Passwordto set a password for players to join your server. - Adjust other settings as needed, including the description and administrator password.
- Change
- Save the file after making changes.
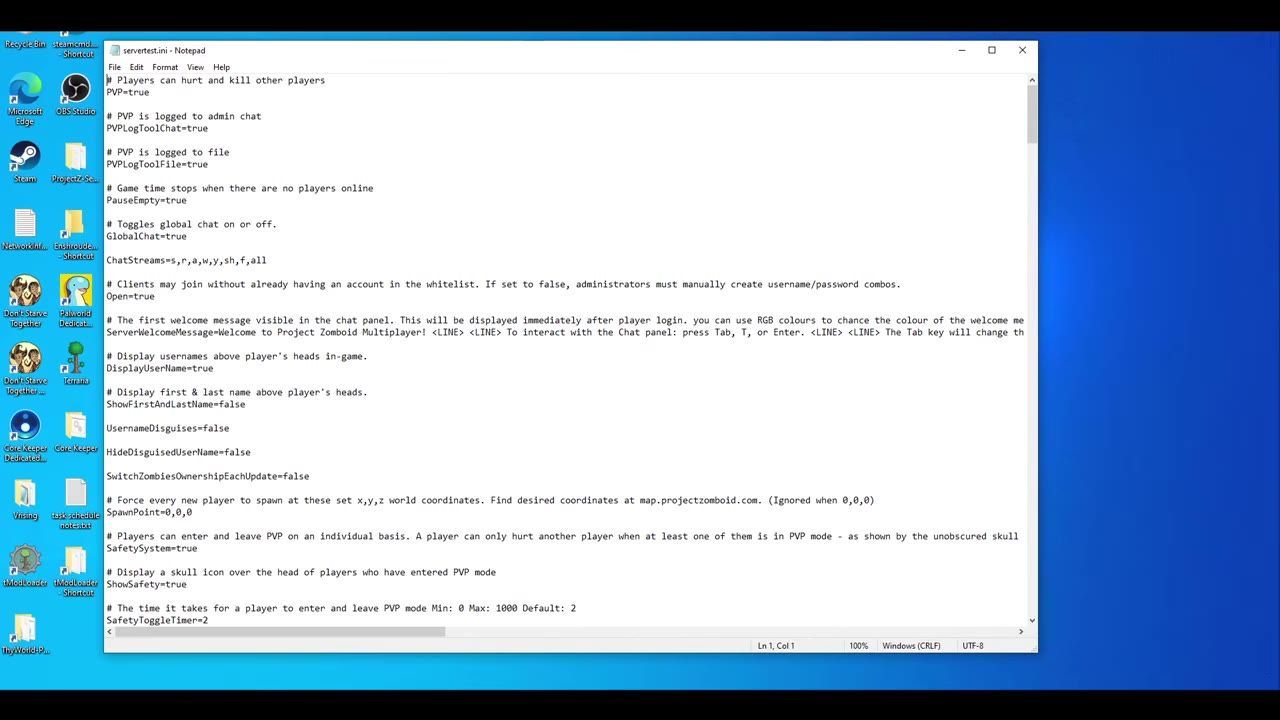
Editing the servertest.ini file in Notepad to configure server settings. — Rockuzza Gaming
Establish Rules for Firewall and Ports
steps
- Open Windows PowerShell with administrator privileges.
- Create inbound rules for UDP ports 16261 and 16262. You can use a pre-written PowerShell script for this.
- Ensure that the status shows as "enabled" and "OK" for the ports.
Start and Verify the Server
steps
- Double-click the
start-server64.batfile to start the server. - On your gaming machine, open the Project Zomboid client. Verify that both the game version and server version are compatible (e.g., Build 42.20.0 for stable servers).
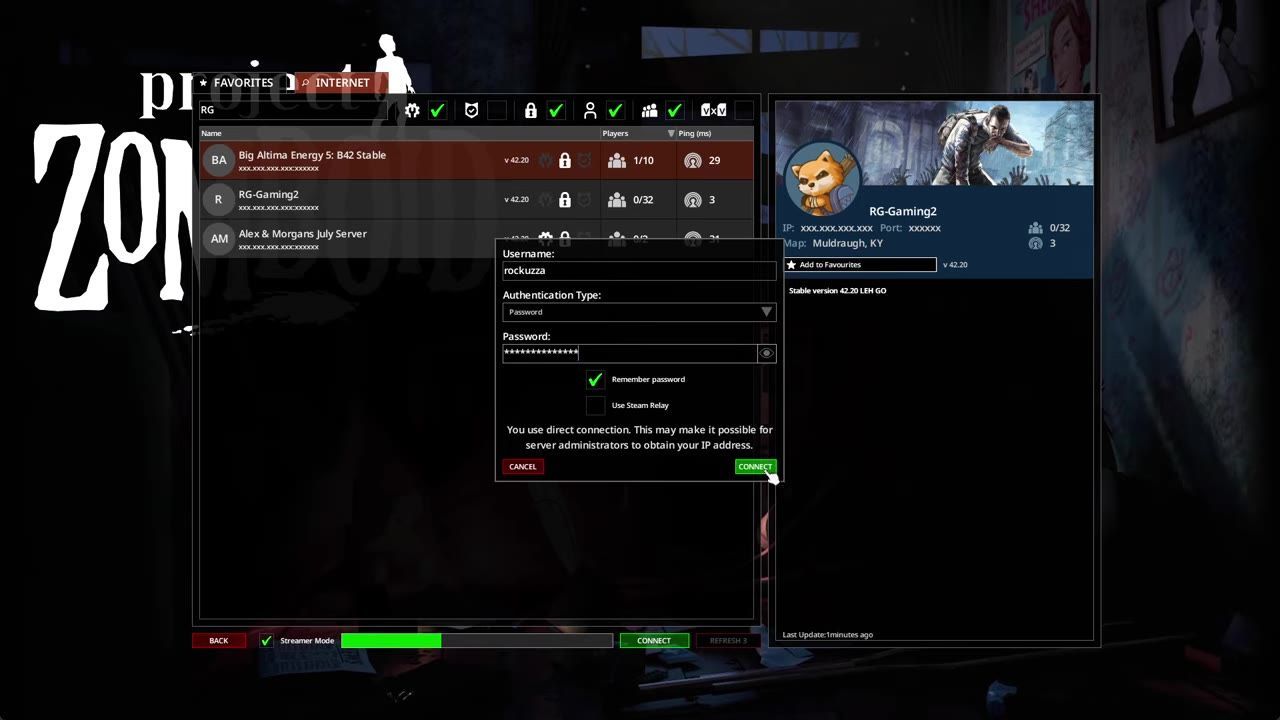
- Navigate to the Multiplayer tab and filter the server list for password-protected servers.
- Locate your server name, enter the password, and connect.
- If you experience setup issues, refer to the server logs located in
C:\Users\<Your Username>\Zomboid\console.txtfor troubleshooting information. - Once connected, ensure that everything is functioning as intended.
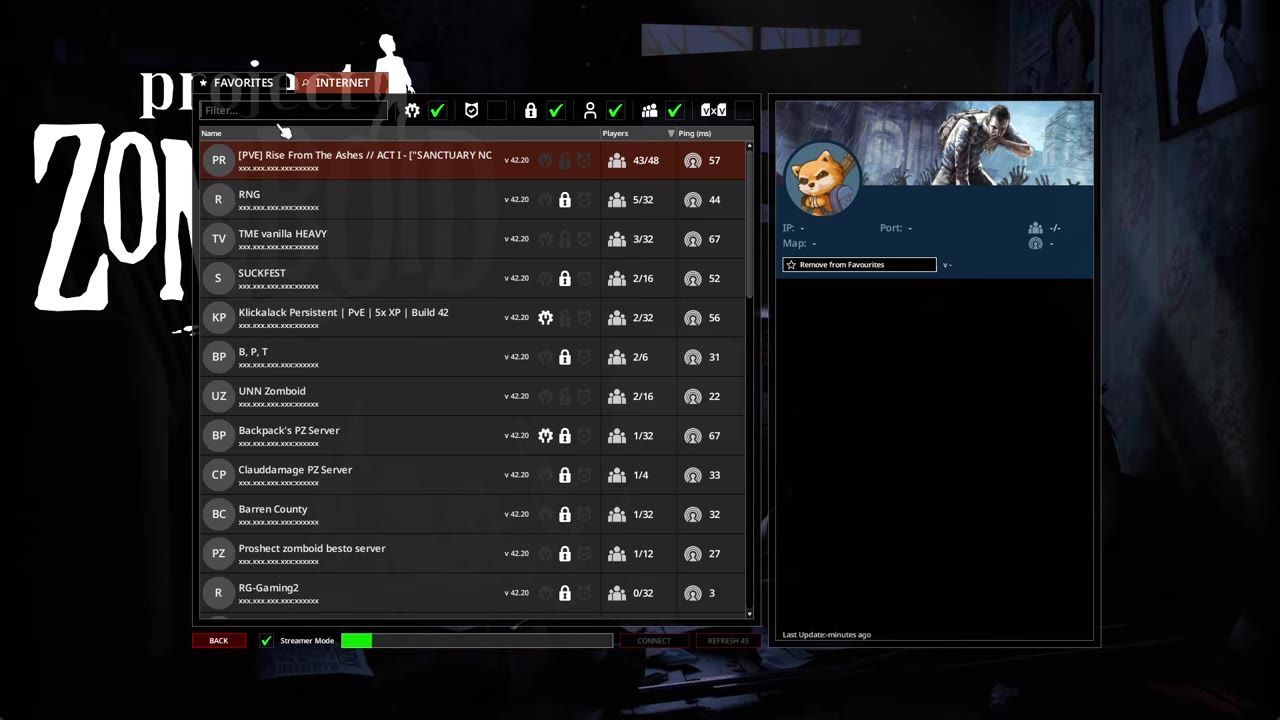
The multiplayer server browser in Project Zomboid displays a list of active servers and their details. — Rockuzza Gaming
FAQ
step-by-step guide for setting up Project Zomboid server
To set up a Project Zomboid server for Build 42, follow these steps: install SteamCMD, download the server files using SteamCMD commands, configure the server batch file for memory allocation, edit the servertest.ini file for server settings, set up firewall rules for UDP ports, and launch the server using the batch file.
dedicated server configuration Project Zomboid 42
Dedicated server configuration involves adjusting servertest.ini settings: enabling public access, setting a server name and password, configuring administrator privileges, and modifying port rules for UDP communication. For memory allocation, edit the batch file within the server folder based on your system's RAM.
Sources
Screenshots on this page are frames from the videos below, used to illustrate the steps they describe. All rights remain with their creators.
- Project Zomboid Build 42.20 Dedicated Server Tutorial — Rockuzza Gaming, July 29, 2026
Checked against:
- 42.20.4 STABLE & 42.19.2 UNSTABLE & 41.78.21 LEGACY Hotfixes Released — AmazingSully, 2026-08-26
- 42.20.3 STABLE Hotfix Released — AmazingSully, 2026-08-17
- 42.20.2 STABLE Hotfix Released — AmazingSully, 2026-08-05