To join a friend's server in Palworld, start the dedicated server and transfer your local save files using the method described in this guide.
Setting up a Dedicated Server
Setting up the dedicated server is the necessary first step to ensure that you can migrate your local saves to it. Here's how you can set it up:
prerequisites
- Install Palworld's dedicated server via Steam or Steam CMD.
- Run the server at least once to generate the essential files.
- Join the server as the usual co-op host to create basic player and level save files.
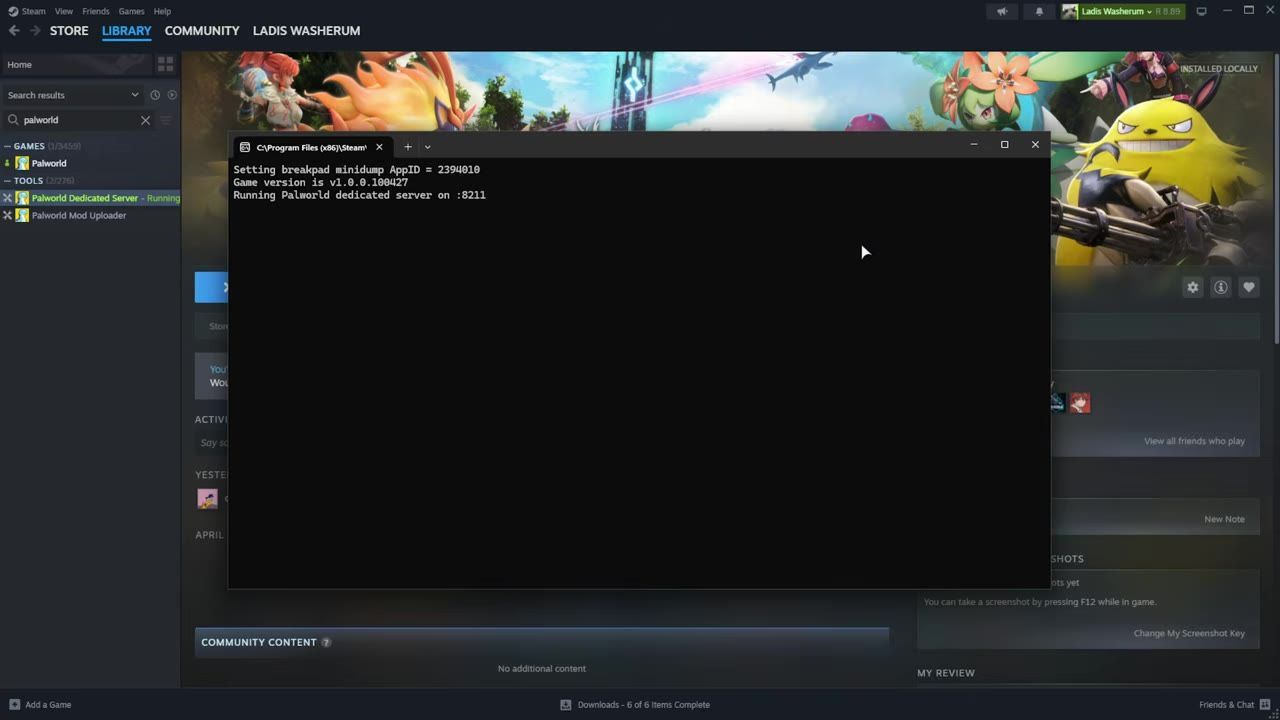
Palworld's dedicated server is running on Steam, displaying active server terminal logs. — TroubleChute
Locating and Exporting Local Save Files
To migrate your game data, you first need to locate the save files on your local system. Follow these steps:
steps
- Press the Windows key + R to open the Run dialog box.
- Type
%localappdata%\Pal\Saved\Save Games\and press Enter to open the Palworld save file location. - Navigate through the folders and sort them by "Date Modified" to identify the most recent save file.
- Inside the identified folder, locate
playersandlevels.savethat contain your progress and data.
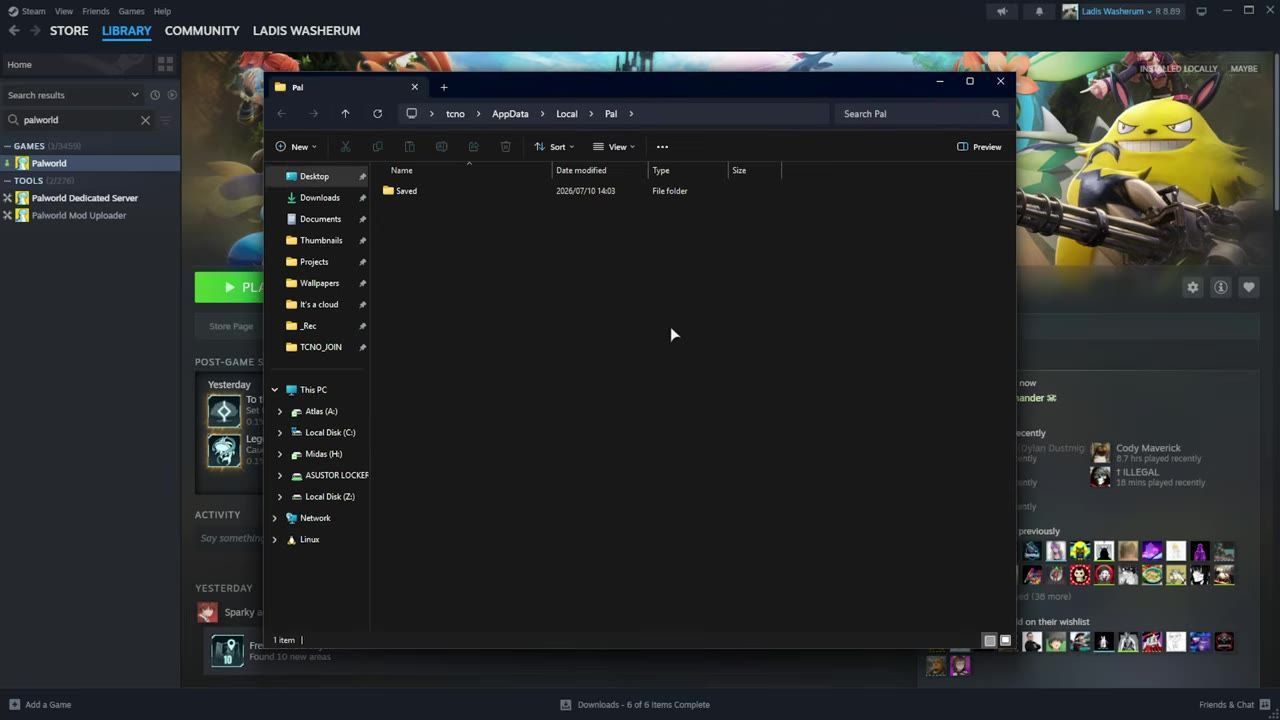
The File Explorer window displays the AppData\Local\Pal directory with a folder containing save files. — TroubleChute
Migrating Saved Games to the Server
Transferring local game saves into the server setup is the critical step. Ensure that the server is not running before beginning the migration.
steps
- Stop the dedicated server temporarily to prevent issues during migration.
- Copy all necessary files (excluding
playersandlevels.save) from your local save folder. - Paste the copied files into the corresponding server save folder. Delete anything in the server folder except the
playersfolder before inserting new files. - Use a migration tool to convert your local player saves into a format compatible with the dedicated server.
- Replace the server's existing
playersandlevels.savefiles with the converted versions from your local save folder.
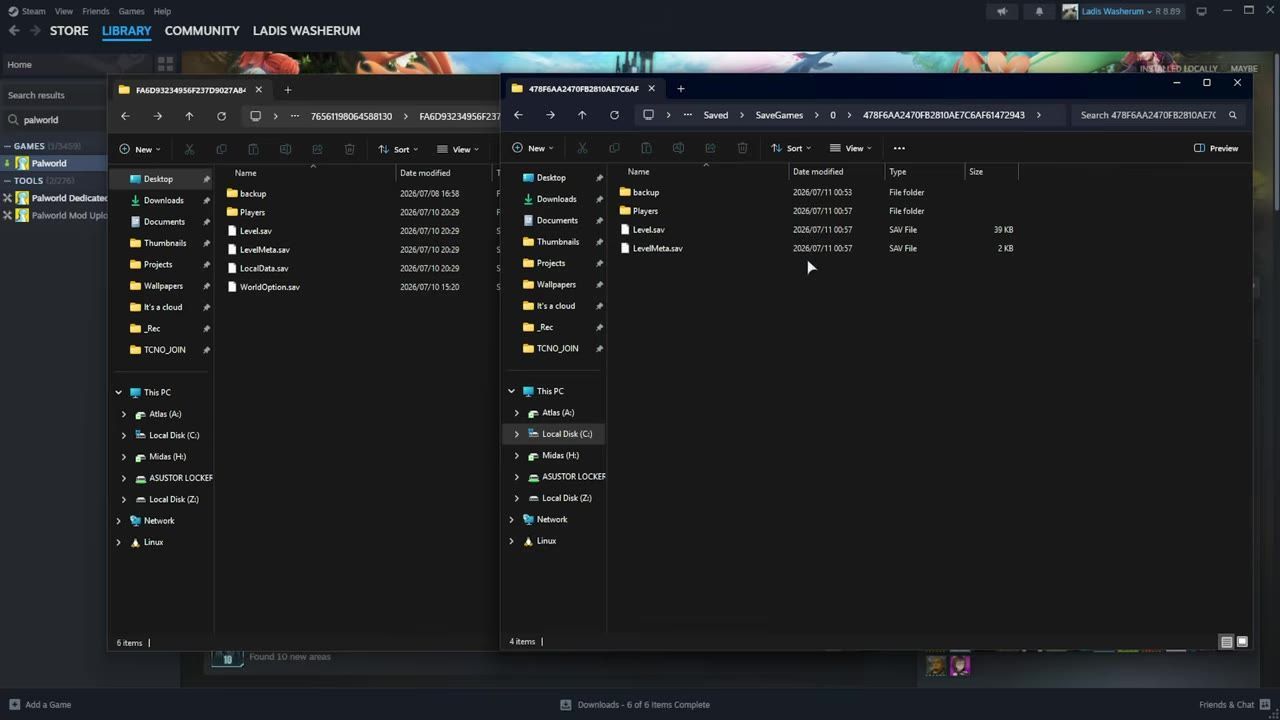
Local and server saved game directories displayed side by side. — TroubleChute
Finalizing and Testing Your Setup
Once the migration is complete, the next step is to verify the server setup and test the functionality of your saved data.
steps
- Restart the dedicated server and let it initialize.
- Launch Palworld and join the server.
- Check your inventory, player progression, and buildings to ensure all migrated data is intact.
- Confirm the server is hosting the migrated save file without issues.
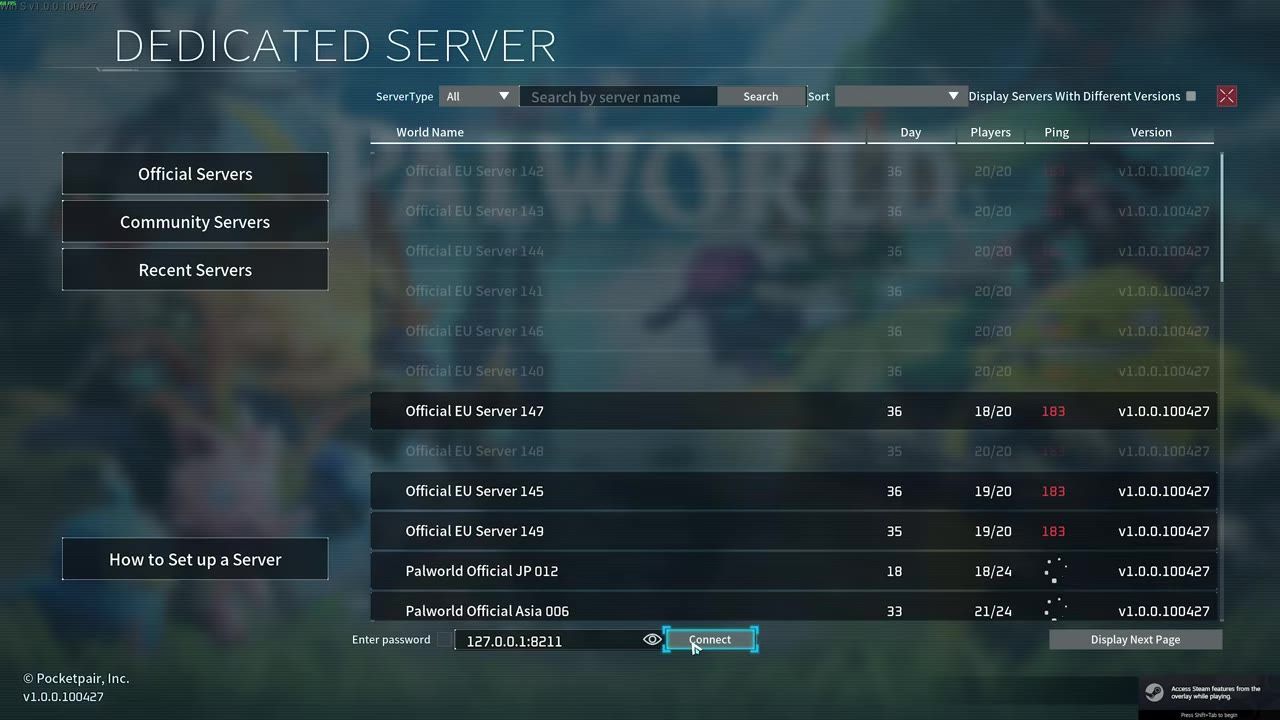
The dedicated server menu in Palworld displays various server options and the connection interface. — TroubleChute
FAQ
How do I migrate saved games into a new Palworld server setup?
To migrate saved games into a dedicated server, locate your local save folder, copy the files (except players and levels.save), paste them into the server save folder (deleting everything except the players folder), convert your local saves using a migration tool, and replace the server’s files.
Sources
Screenshots on this page are frames from the videos below, used to illustrate the steps they describe. All rights remain with their creators.
- EASY: Migrate Co-op save to Dedicated Server | Palworld 1.0 — TroubleChute, July 11, 2026
Checked against:
- v1.0.3: Balance Adjustments & Bug Fixes — pocketpair_dev, 2026-08-12