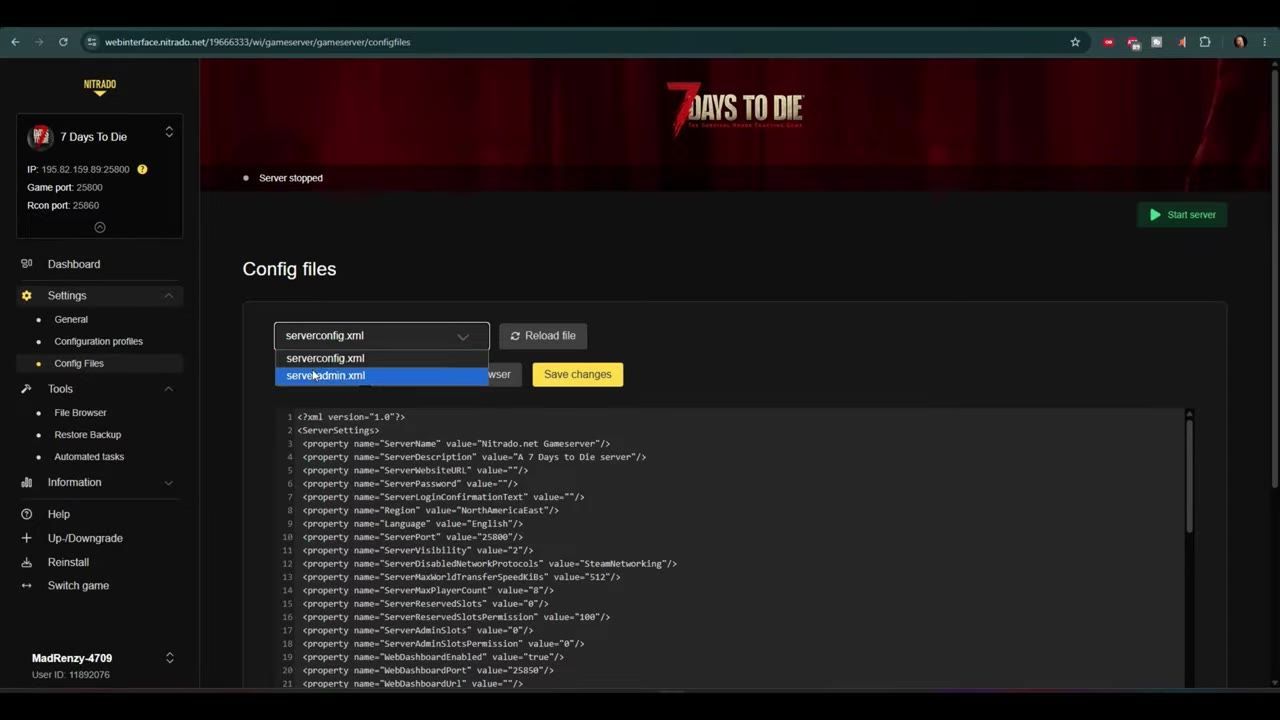
To configure server settings for 7 Days to Die, stop the server via its management console and navigate to the 'config files' section to modify settings such as XP rates, day/night cycles, and gameplay modes.
Stopping the Server and Accessing Config Files
To begin customizing your 7 Days to Die server, the server must first be stopped to prevent conflicts:
steps
- Log in to your server's management console.
- Stop the server by selecting the appropriate button in the console interface.
- Once the server is stopped, navigate to the
config filessection. - Identify the file labeled
server config. Open it to access a range of settings available for modification.
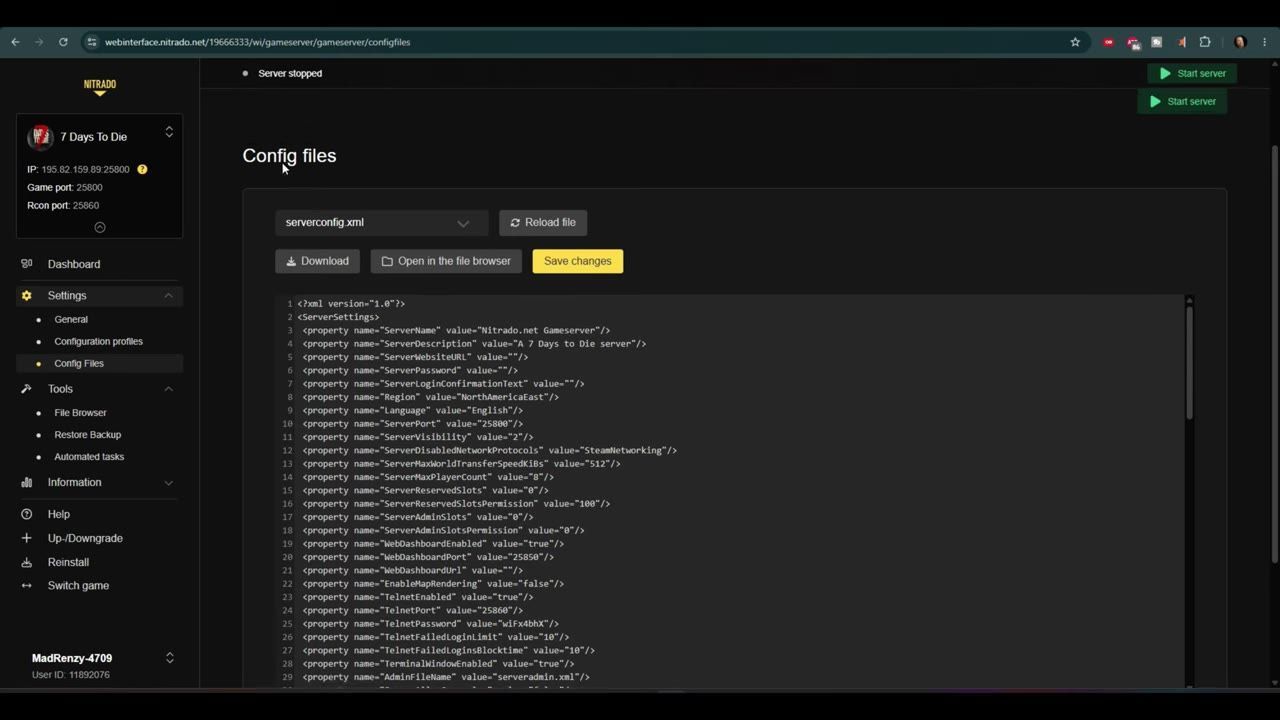
Server management interface with configuration files displayed. — MAD RENZY
Modifying General Server Settings
The server configuration file offers a range of options for tailoring your gameplay experience:
steps
- Open the
server configfile within theconfig filessection. - Scroll down to locate the various settings, such as:
- Game Mode: Choose the overall gameplay ruleset.
- Day and Night Cycles: Adjust the duration for daytime and nighttime, depending on your gameplay preference.
- XP Multiplier: Set the experience earning rate.
- Loot Abundance: Customize the abundance of loot per game stage.
- Modify these values to suit the desired challenge and complexity of your server experience.
- Save the changes and restart the server for the modifications to take effect.
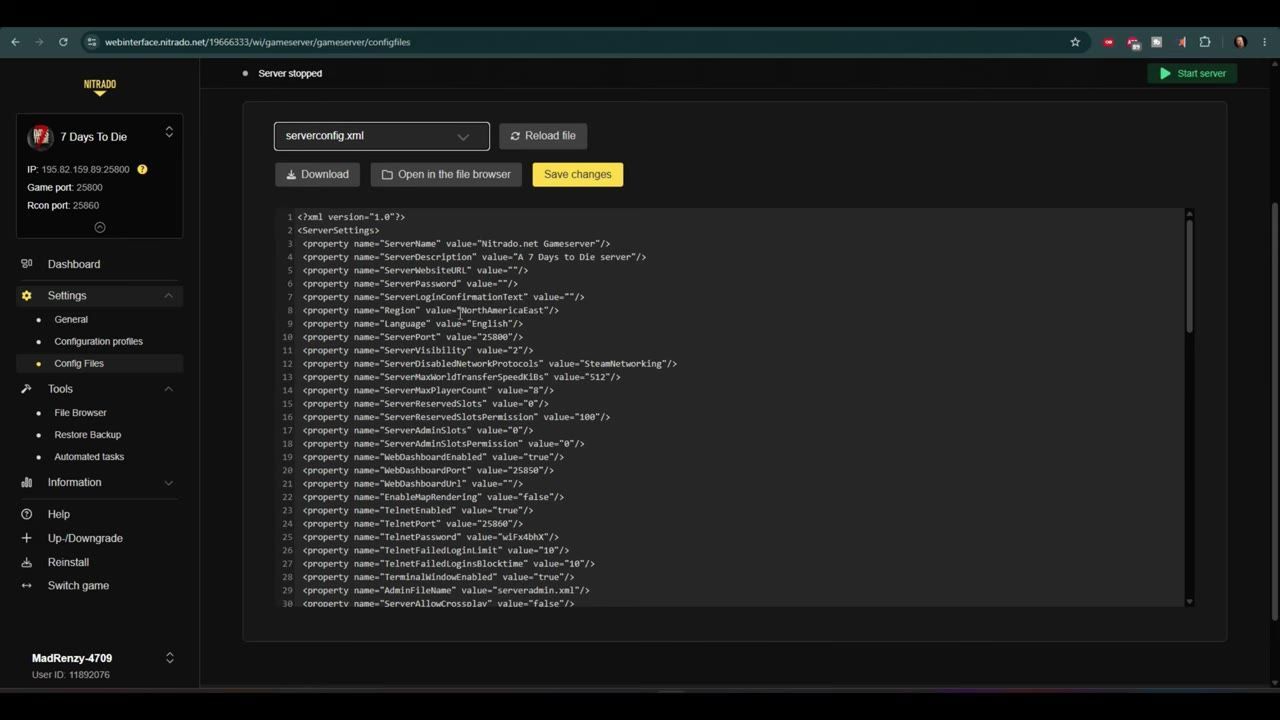
The server configuration file is open, displaying editable settings for server configuration. — MAD RENZY
Understanding Server Admin Configuration
The server admin file is essential for server management:
- It lists banned players, whitelisted players, and key administrative commands.
- Although the file can be directly edited, using the server's web dashboard or related tools is recommended for smoother administrative setup.
- Within the dashboard, you can configure admin permissions, passwords, and other management features.
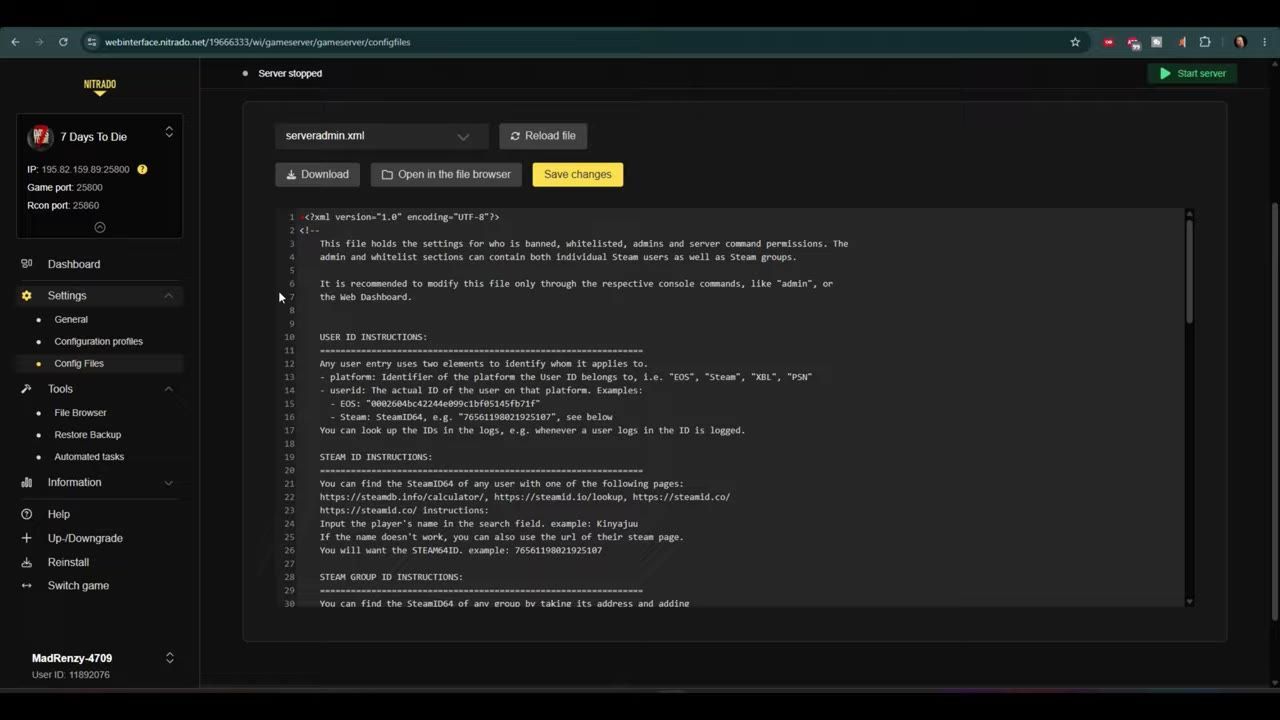
The server admin configuration file displays administrative command options. — MAD RENZY
Adding and Managing Mods
Mods allow you to customize and enhance your server further. To install mods:
steps
- Open the
file browserin the server management console. - Locate the
Modsfolder within the7daystodiedirectory. - To streamline mod installation, use an FTP client like FileZilla:
- Gather FTP login details and use port 21.
- Connect the FTP client to your server.
- Navigate to the
Modsfolder and upload the required mod files.
- Ensure all uploaded mods are correctly formatted before restarting the server to apply changes.
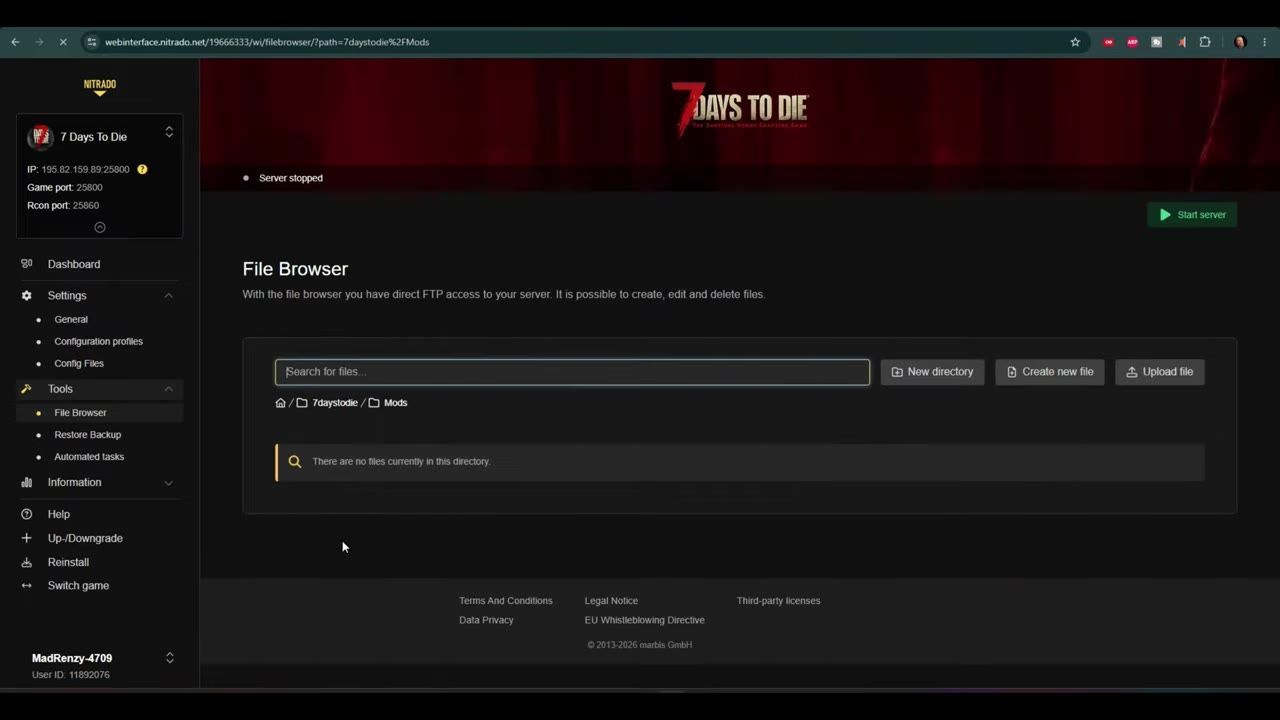
The file browser displays the 'Mods' folder in the '7daystodie' directory. — MAD RENZY
FAQ
how to configure 7 Days to Die server settings
Follow the guide above by stopping the server in the management console, then navigating to the config files section to adjust XP rates, day/night cycles, game modes, and other settings.
best settings for 7 Days to Die server
The best settings depend on your objectives; for a balanced experience, optimize XP rates, set day/night cycles to convenient lengths, adjust loot abundance to match difficulty, and tweak game modes to suit player preferences.
Sources
Screenshots on this page are frames from the videos below, used to illustrate the steps they describe. All rights remain with their creators.
- How to Setup ADVANCED 7 Days to Die Server Settings! (Nitrado Guide) — MAD RENZY, July 28, 2026
Checked against:
- V3.2.0 Stable — Hated, 2026-08-26
- V3.2.0 EXP - b9 Update — Hated, 2026-08-19
- V3.1.0 Henpocalypse Stable Release - MP Invite Bug Hotfixed — Hated, 2026-07-27